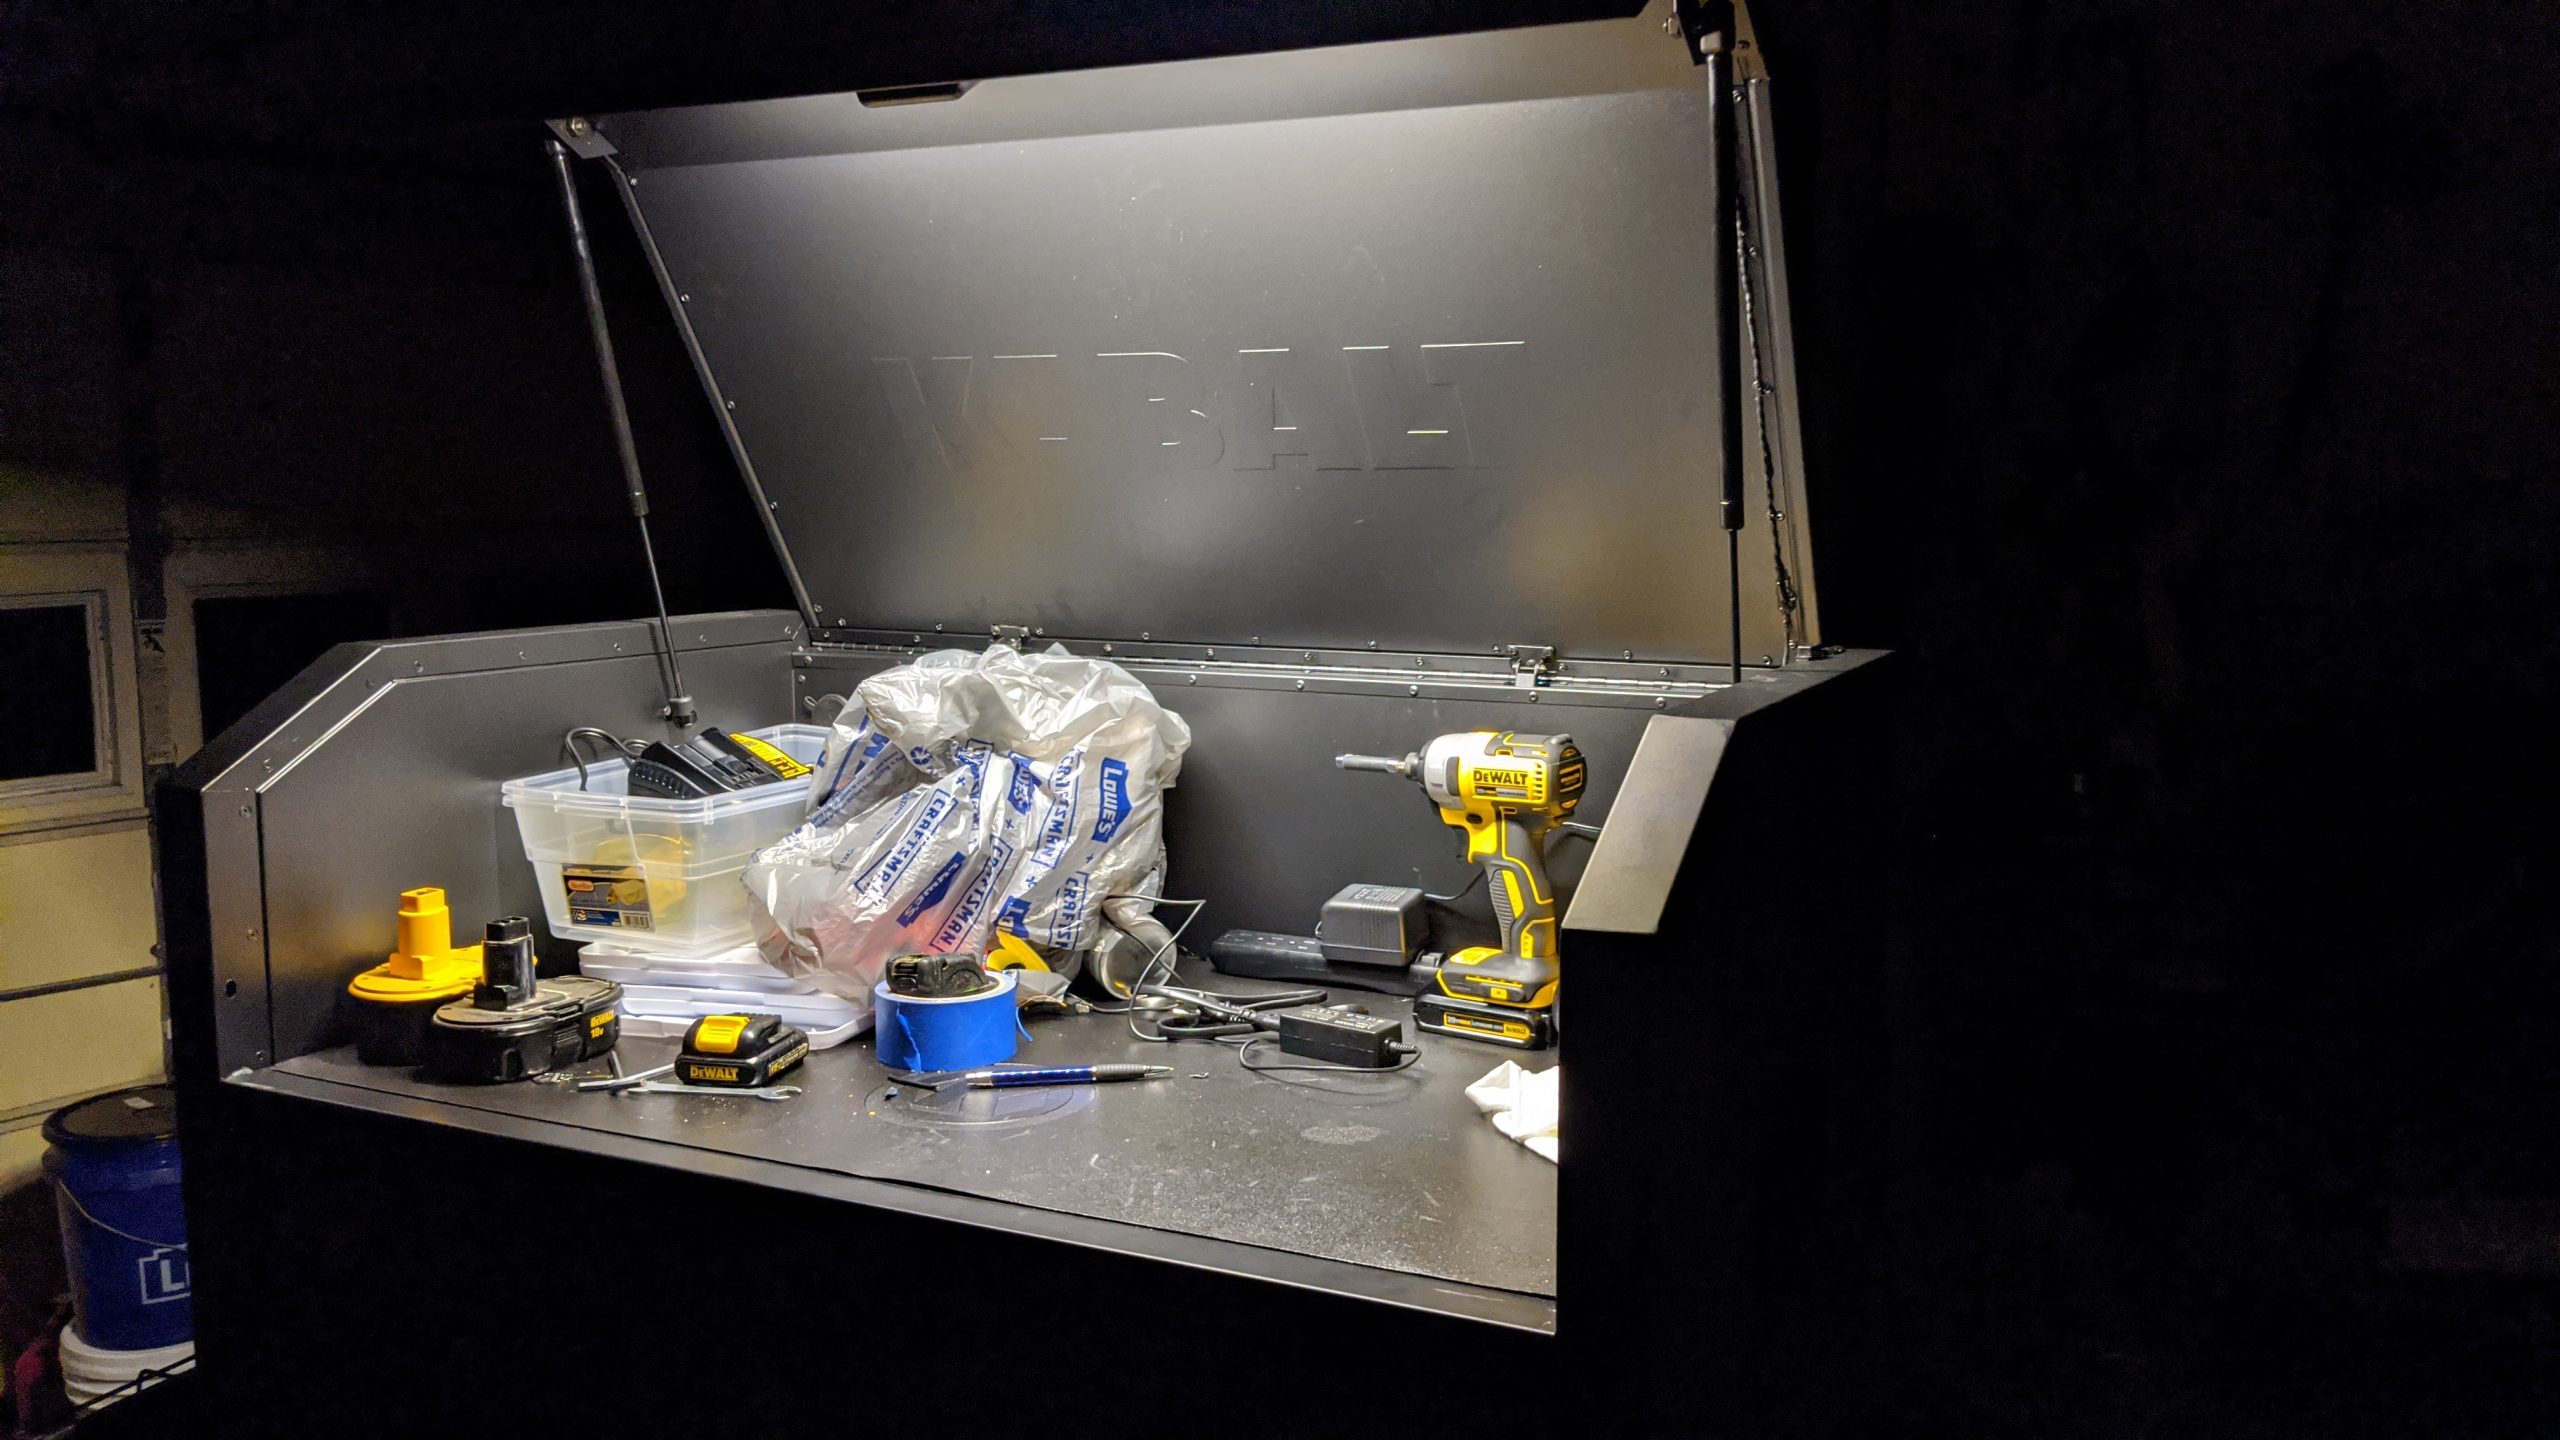
In keeping with my tendency to prefer to build/develop a solution instead of just buying something off the shelf, I’ve completed a super quick and satisfying solution for my new Kobalt tool chest. I wanted some localized lighting while working… Continue Reading →
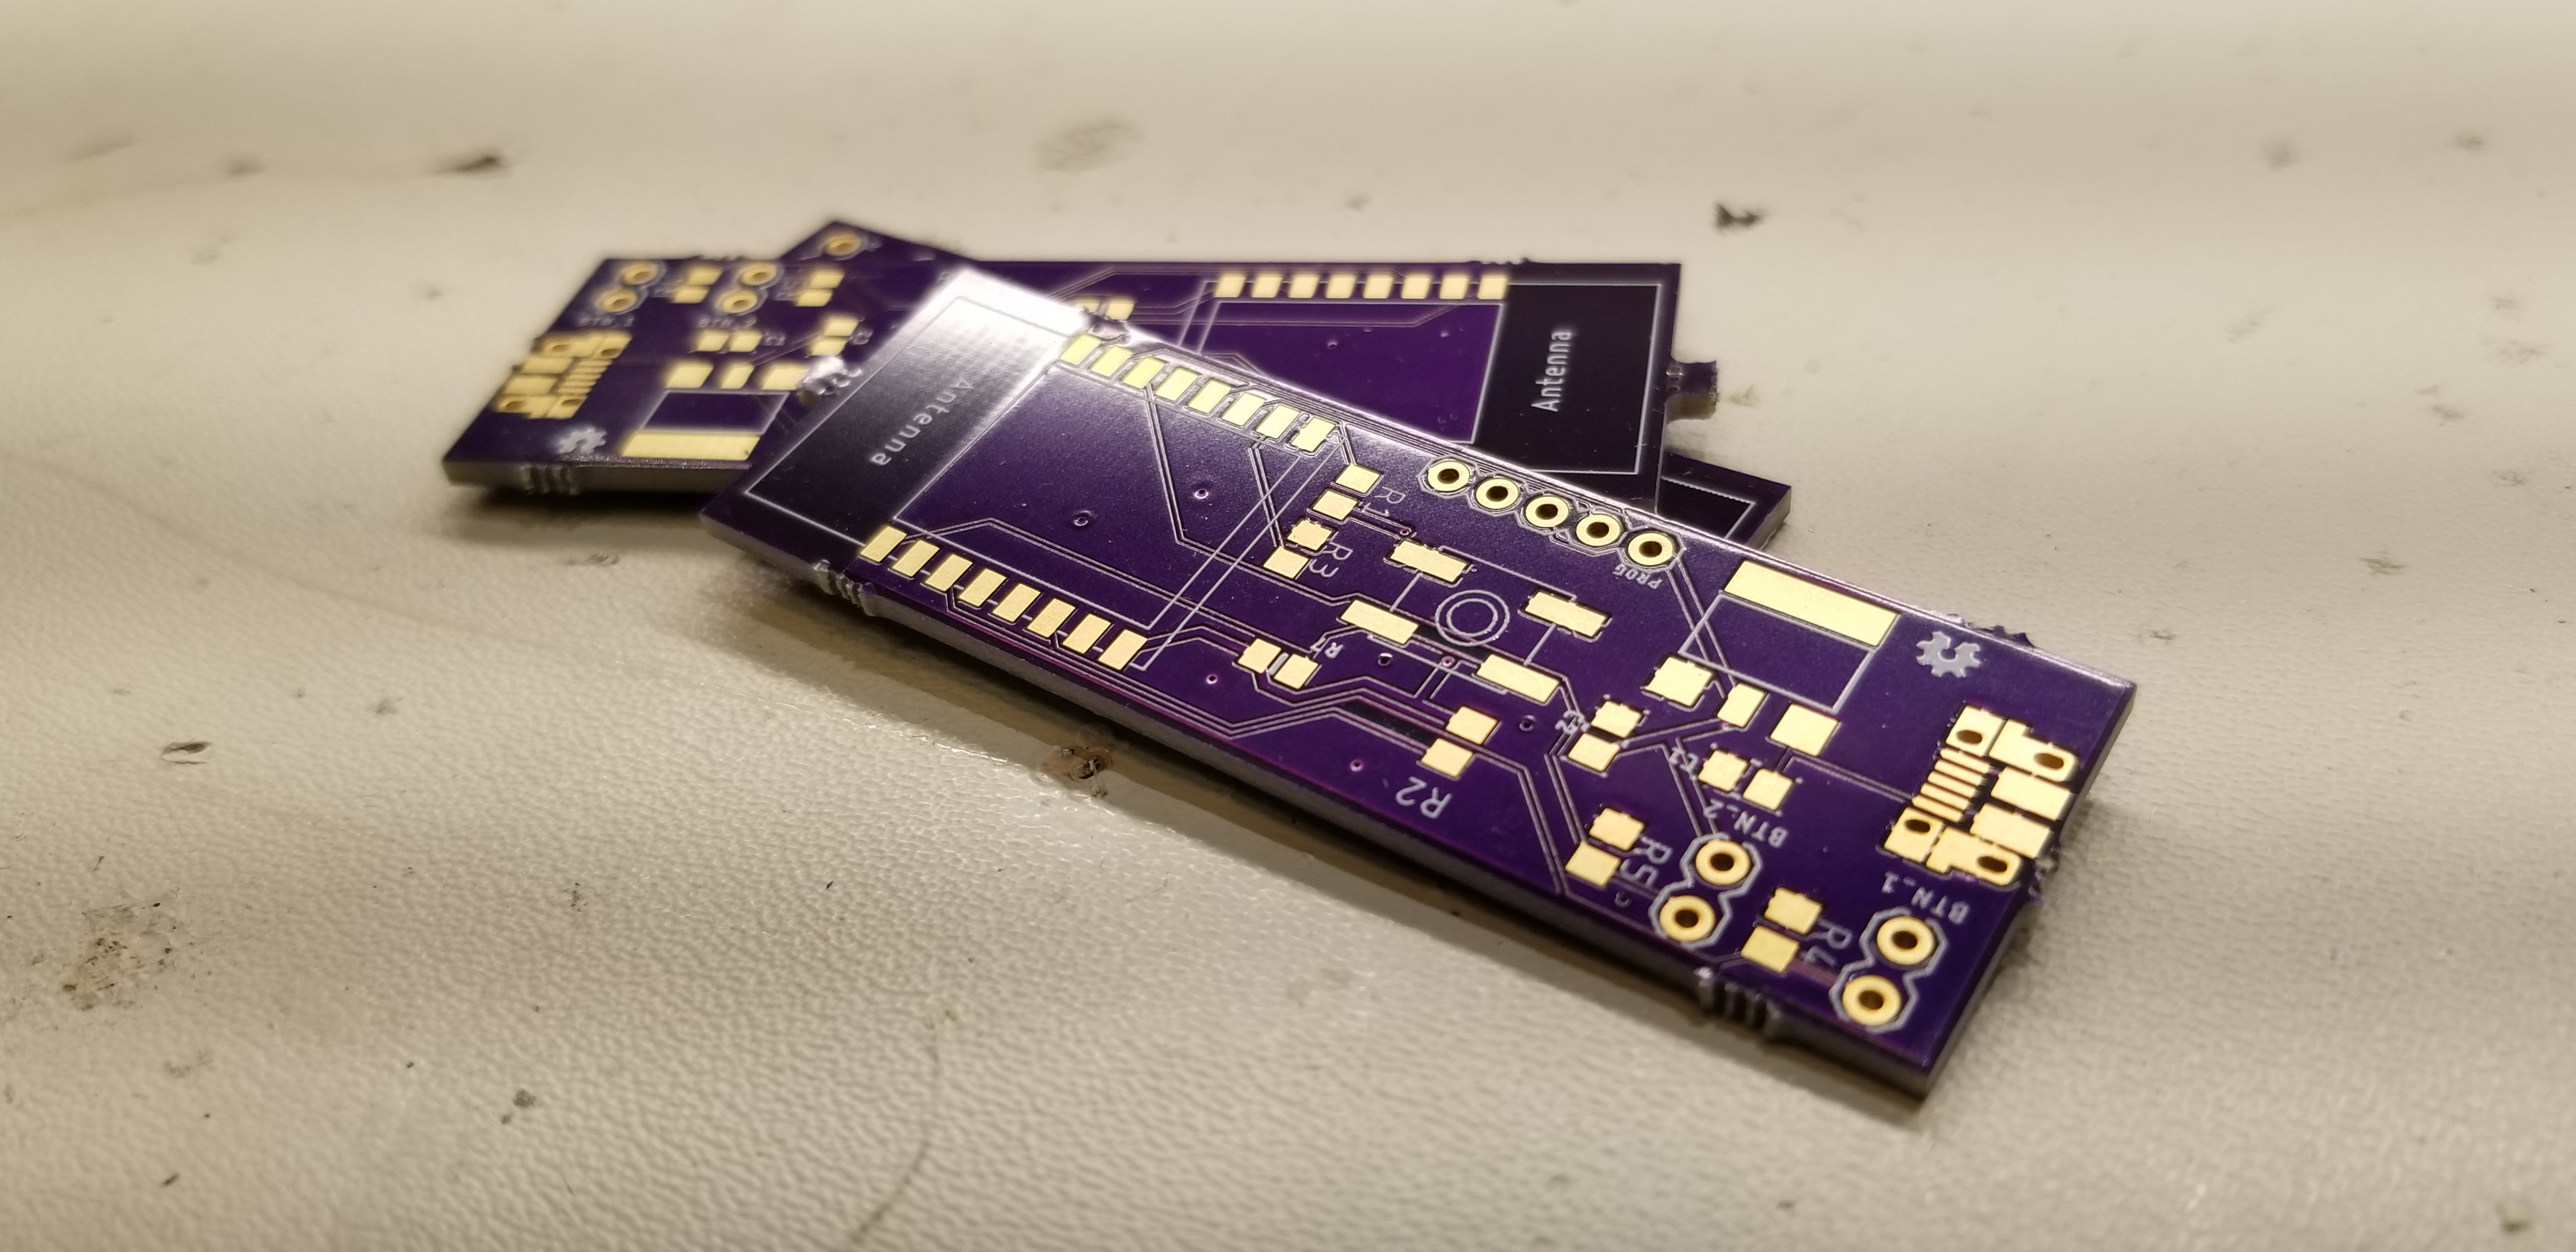
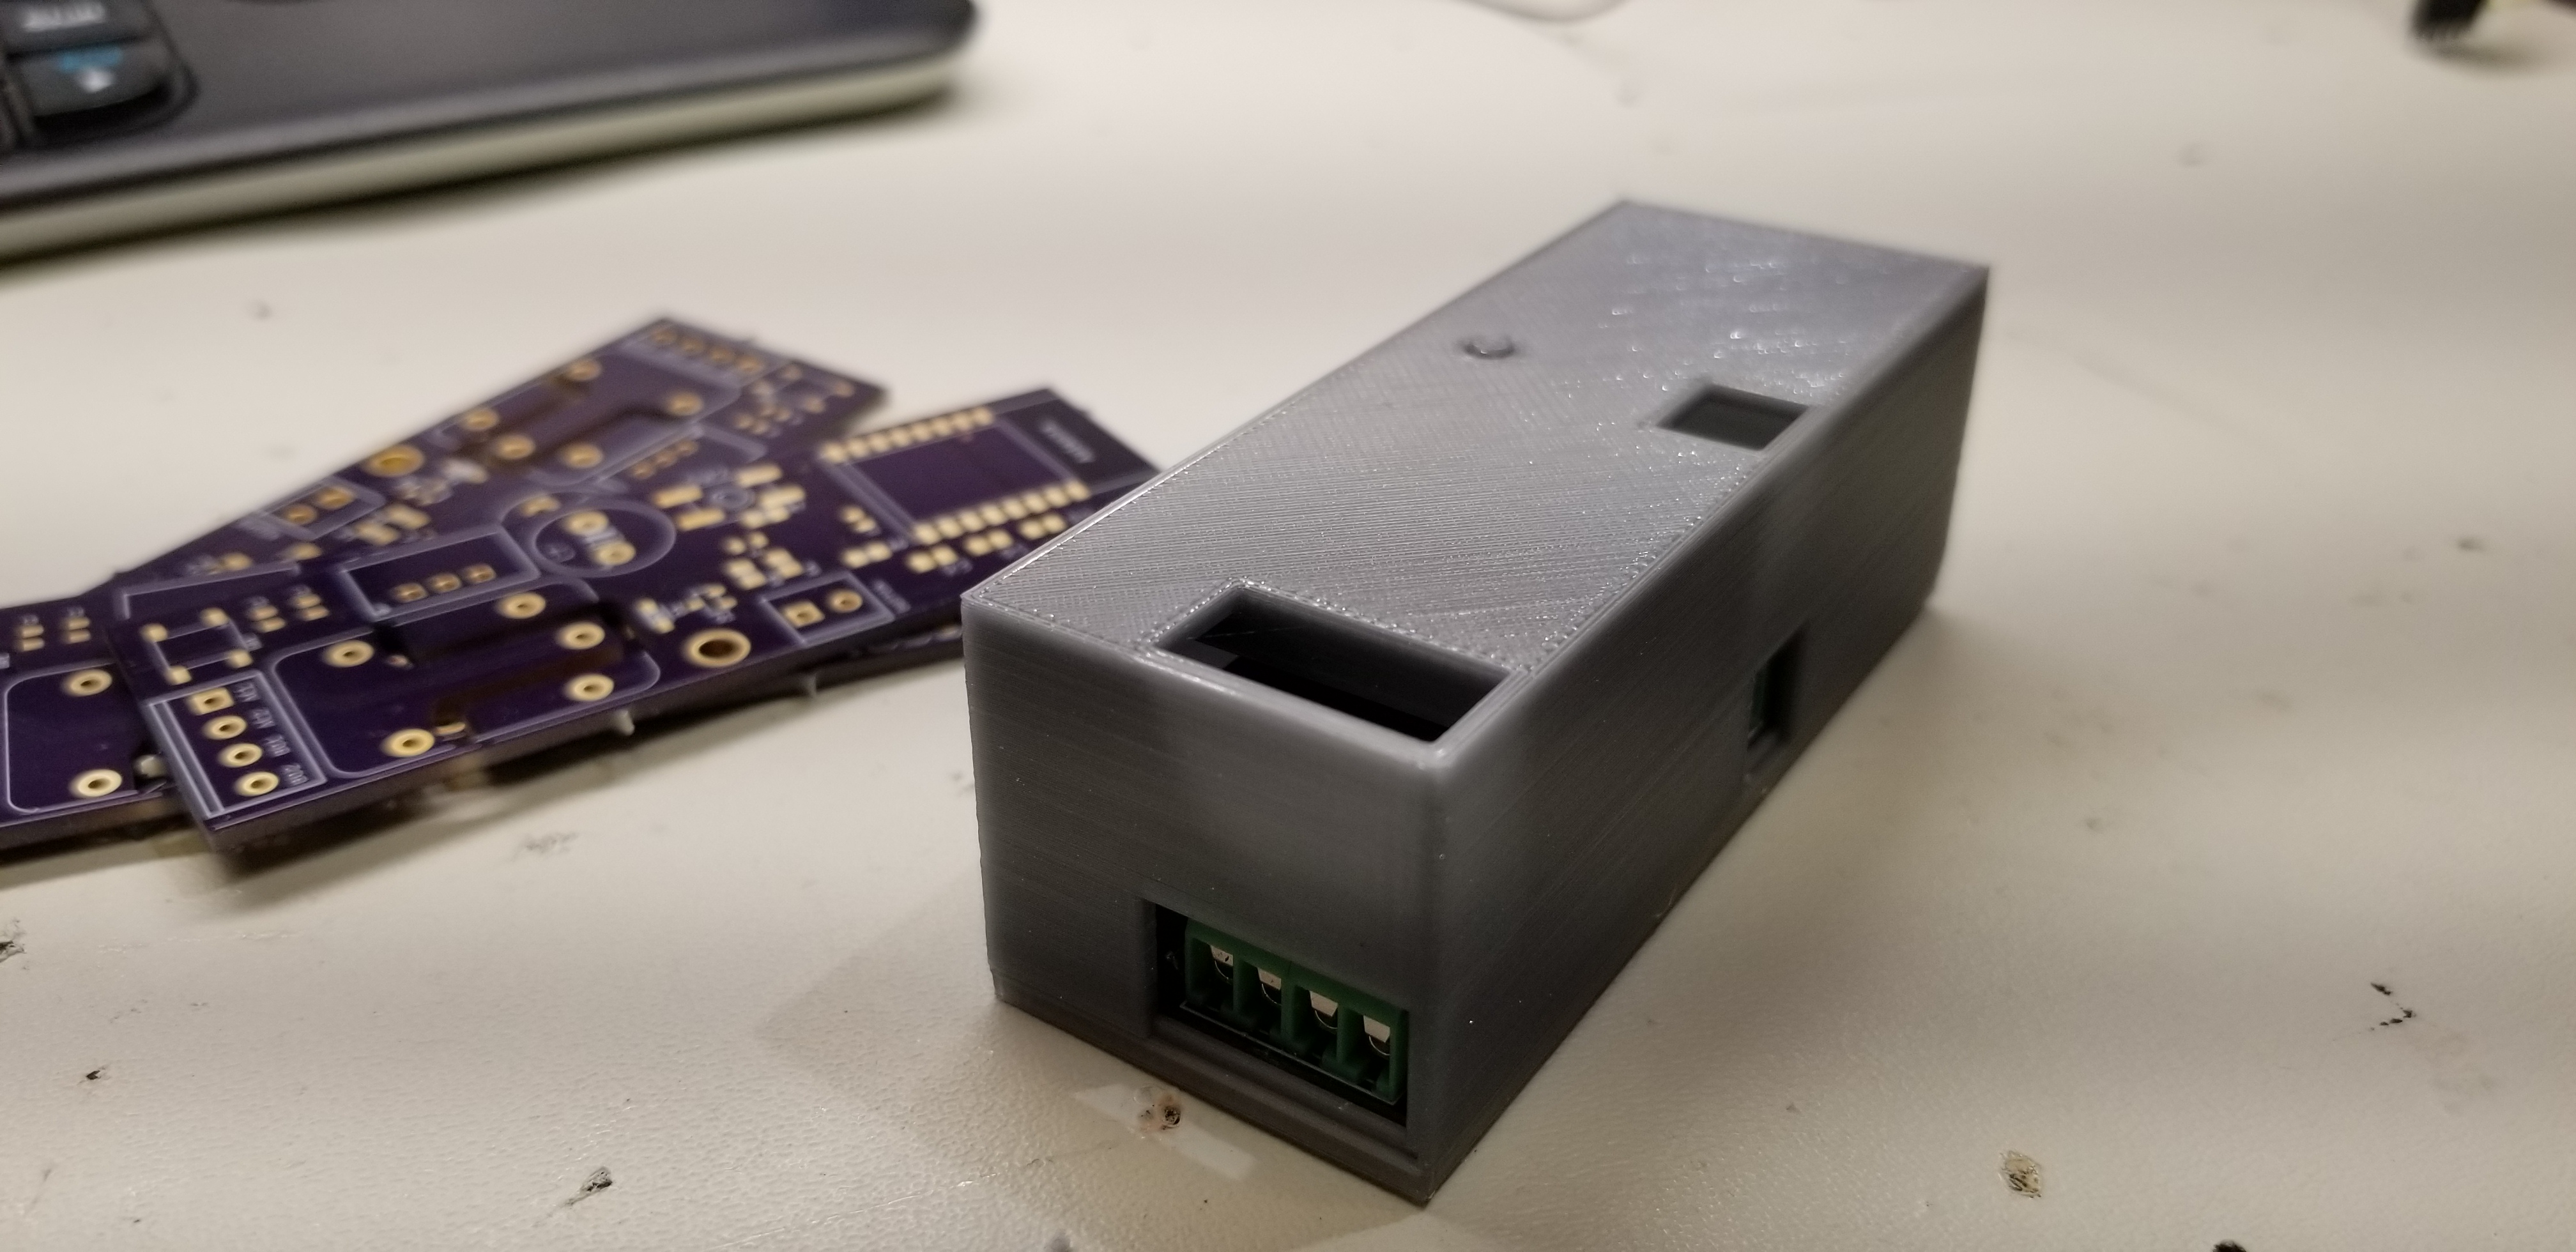
I seem to be on a roll lately with these ESP8266 based projects, but they are so fun and useful, it’s not difficult to identify new uses. This project originated from another project I just completed, building my own solder… Continue Reading →
Automating my home has been a journey I’ve been on for several years now and at no point in that journey did I feel the necessity for a $200USD doorbell. Not that I don’t see use cases for it or… Continue Reading →
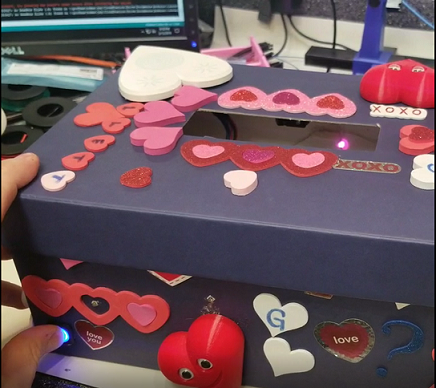
Not all projects are incredibly complex builds, technically challenging, or innovative in their outcomes. This is one of those projects, however, it’s probably one of the few projects that I’ll remember for the rest of my life. Being a maker… Continue Reading →

I finally finished what I’d call a satisfactory version of my filament sensors. I’ve wanted an affordable, accurate, and geeky way to monitor the humidity inside the storage boxes I use to store all my 3D printing filament. I couldn’t… Continue Reading →
Several years back, I got into the home automation game, sadly for me, at the time I was trying to automate “all the things”, it was just too chaotic lacking any standardization, was severely limited in what you could do,… Continue Reading →