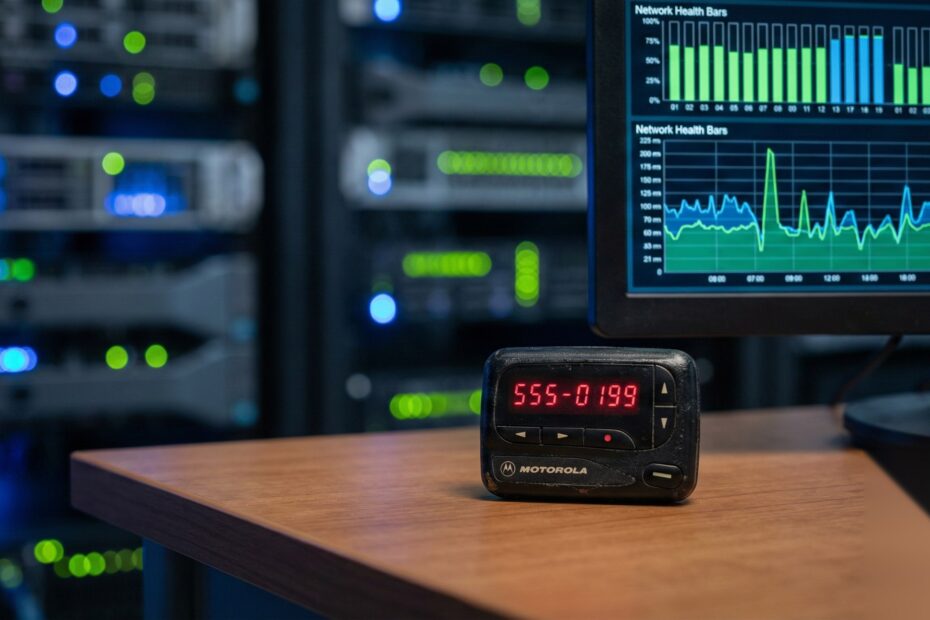
Lifelong Learning Knowledge should be uncompromisingly sought after and freely given away.

13Feb/130

Healthy Habitats For Home Labs

iStock_000015238547XSmallI've slowly been able to expand my home lab to include the type of equipment that allows me to continually improve my technical skills as well as experiment with home automation and DIY electronics. As my home lab has grown so has the need to ensure it's kept healthy. One way to ensure it stays healthy is to make sure it's got a nice  comfortable habitat in which to work and live.

My first feeble attempt to monitor the environment where I keep my server rack was to buy a cheap-o temp and humidity meter from eBay.  It worked in so much as I could tell what the temperature and humidity was if I bothered to go down to the basement and look. I'm lazy, heck I have IP KVMs so I don't have to go downstairs to reboot a server, I'm not going to go down there to check the environmental conditions. Something better had to be implemented....

I started looking for environmental monitors/sensors on eBay thinking I could pick something up cheap from one of the numerous companies that sell used computer equipment. Data centers are always upgrading such things and I was confident I'd get something to meet my needs for less than $100USD. Wow, I was ever so wrong. I found some things around the $100USD range but they typically required other pieces or sensors that costs as much or more. This was starting to suck.

Not sure why it took so long, but I finally remembered I had purchased a temperature and humidity sensor from AdaFruit.com many months back for a project I hadn't completed. I also remembered I had an Ethernet shield and I always have a few Arduinos on hand. I had struck gold, I'll build my on networked environmental sensor and I can do it for FREE (as I already owned all the pieces).

Thanks to AdaFruit.com's learning site, I was able to get my DHT22 temperature and humidity sensor working in just a few minutes but I needed some way to get to the data remotely over the network. I hooked up my Ethernet shield and started messing about with building a HTTP client and after a bit realized there had to be someone who had done this already. I found this article which leveraged the Ethernet shield to log the data to a cloud service which had a nice user interface for making sense of the data points I was capturing. Exosite was going to be a great, no fantastic solution! I downloaded the Arduino library for Exosite and I was done in about 30 minutes.

20130213-164324.jpgThis is why I love Arduinos and the community of Arduino users. I was able to build an environmental sensor that was networked, captured historical data points and even has alerting features (via email) in about an hour and for about $75USD in parts.

Check out my Exosite portal here.

Now I've just got find a nice way to mount this in my rack and add a display for local viewing of the temperature and humidity for those times I actually am standing in front of the rack. But I'll save that for another post....

My example code and high resolution pictures can be downloaded below.

LabSensor
Title: LabSensor (1981 clicks)
Caption:
Filename: labsensor.zip
Size: 2 MB

11Feb/130

Great read for battery powered projects!

iStock_000015833126XSmallI've had many a project lately that needed to use batteries rather than being powered from the mains. I've been reading lots lately about saving power in AVR chips and general concepts for power conservation in my projects. It's made me a better engineer in general and I think all my future projects will benefit from the knowledge regardless of their power source. During all my research I did stumble upon this article that I thought would be useful to the masses and thought I'd share it with everyone.

http://www.sparkfun.com/tutorials/309


Filed under: AVR, Electronics No Comments
24Sep/120

I <3 Raspberry Pi

I finally got my shipment of Raspberry Pis today and I am stoked! I didn't pay the crazy prices on eBay and so I now have a $36 computer. I've allocated both of my PIs as XBMC boxes to power my basement and living room TVs. I had been running a BoxeeBox and while I initially loved it, I've grown to HATE it. They should rename it "FlakeyBox"; a $200 box of crap.

Anyhow, I spent about 30 minutes working on it and I have my first Pi up and running and streaming 1080 video to my TV without issue. If you are in the market for a Pi allow me to suggest Adafruit. If you want information on how you too can use a Raspberry Pi as a media center, check this site out. There are several different firmwares available for XBMC but I've settled on Raspbmc for now, it's fast enough for daily use and seems very stable.


Update (2/11/2013):

Make sure you use a powered USB hub and pick up one of these power supplies for your PI, otherwise it'll be very unstable. I learned this the hard way. These power supplies from AdaFruit supply 5.25V to the PI which helps with it's rather shoddy power design which will allow the board to become under powered and reset.

25Jul/120

Why did I wait so long to toast my boards?

PCB Toaster OvenI've recently redesigned my Retro WiFi Radio project to include some "extra" functionality and the design requirements required some tiny spacing of the components in addition to some tiny SMD parts. While I'm all for hand soldering SMD when needed, I wasn't looking forward to attempting this board build by hand...I really needed to look for a better, faster and more reliable way to solder SMD boards. I'd read articles from Adafruit and some other sites about utilizing electric skillets to re-flow boards but I've also read plenty that say it's not the ideal way to re-flow. I even went  as far as to "Watch" some eBay listings for a few cheap Chinese re-flow ovens. I knew folks had been having lots of luck using a PID controller and a toaster oven and after reading reviews about those cheap Chinese re-flow ovens, I figured my $50 investment in a toaster oven from wally world would be the safest gamble. I knew I wanted a toaster with no digital controls (easier to hack up, I suspected) and dual top and bottom heating elements. I also had read some good reports using toaster ovens with a fan which supposedly prevented hot/cold spots in the oven. I found a Black and Decker at Wal-Mart for about $40 that fit the bill perfectly so I made the plunge, I sure hope it would reach high enough temps fast enough to hold a good re-flow profile.... The first test for the toaster before tearing it apart was to ensure it'd get hot enough without any modifications.

My particular oven has both a "Baking" and "Toasting" settings with the difference being the "Baking" setting enables the convection fan. I tested the oven in both settings to ensure it'd easily exceed the required 250C my lead-free profile would require for re-flow. It didn't take any time at all for the toaster to exceed my temperature requirements in both settings. Looks like I got myself a champ here folks! Given the fact that I had already purchased an appropriate solid state relay for a different project and I had a spare Arduino laying around, I knew I could quickly throw together a PID controller and test the toaster's ability to hold a profile. I used a sketch from these great folks (which they use for their Arduino re-flow shield) and an LCD display I had laying about. I had a working PID controller in about 45 minutes. So far, this project was looking like it was going to be super easy! Why hadn't I done this before? Using my Fluke meter (with temp probe), I manually charted the temperatures of 3 re-flow runs and while not as accurate as an industrial re-flow oven, I think it'll do just fine. My first few boards worked perfectly and I must say, it's WAY faster and easier than soldering by hand! Bring on those 0603 resistors now!  

Update:

Not one to leave good enough alone, I decided there were a few easy things I could do to improve the responsiveness of the toaster and help it follow my profile more accurately. Here's what I did to the toaster to "improve" it and the results. 1. Added reflective "flue tape" to the inside of the toaster's internal metal walls (back wall and bottom with ceramic fill inside cavity) as well as the glass front door (minus the "peep" window). 2. Filled internal voids with ceramic fiber insulation wool. Got some cheap from eBay

Unaltered Toaster:

Time to 250C (Toast Setting): 3:41.3 Time to 250C (Bake Setting): 6:46.9

"Improved" Toaster:

Time to 250C (Toast Setting): 2:25.8 Time to 250C (Bake Setting): 3:53.6

16Aug/110

PanaVise Products, you got one yet?

I think it's probably a name most folks in the hobby electronics world already know, but if you have no idea who PanaVise is, you should! PanaVise is the company that makes the most amazing vises and holders for all kinds of things. They have expanded the product lines over the years to include all kinds of mounts for nearly any gadget or gizmo you could ever want mounted. I think the best thing about PanaVise besides the fantastic high-quality products they make is the folks that work for them, what a great group of employees they have!

I got an email today from one of those great employees letting me know they were throwing a little contest on Facebook to promote their product page and the prize is apparently gonna be pretty cool! All you gotta do is post a picture on their Facebook product page of the most creative use of your PanaVise project and you could win. I'm all for free stuff, especially when it comes from PanaVise.

Folks who are just starting out in electronics always ask what is the "must haves" regarding equipment, well I'd immediately say a high-quality, sturdy vise. Specifically the PanaVise models, either the 201 or one of the 3 series. I bought my 201 vise and 308 weighted mount from AllSpec about 5 years ago and I haven't worked on a single project since that didn't utilize it. The only gripe I had about my beloved 201 was the time it took to screw the jaws in and out. Well, PanaVise was paying attention (the president of the company no less) when a very smart gentlemen created a home-brew solution. In fact, they worked with him to create an even better version and now they sell them for folks who already own a 201. Now that's listening to your customer base! If you work on electronics, do yourself a favor and pick up one of the PanaVise vises, you won't be sorry you did.

Sadly, my Amazon wish list does have a few PanaVise products on it that are still marked as "Not Purchased". I really want the low profile 305 model with another 308 weighted base. My wife purchased me the 315 circuit board holder thinking it'd work with my 201, but alas it doesn't.

I have not received any sort of compensation for writing about these guys, when a product works as well as the products they make, it's no effort to blog about how great they are!


Filed under: Electronics No Comments
11Aug/110

Stocking up on those parts you use the most….


I've never really "stocked" up on parts for my projects as I always just ordered the minimum parts I needed for each project. I guess I did buy the pack of assorted resistors from Radio Shack back when I first started working with electronics. Identifying the parts I used the most and buying them in bulk up front never was something I had given much thought to, well, that is until I read this blog post from the guys over at Dangerous Prototypes. They blog weekly about parts and how they use, source and stock parts for all their work. I guess that's what it took to finally realize I could save myself some serious cash and even some time buy identifying the parts I use the most, determining a standard package type for them and buying them either by the reel or in large quantities.

I've started doing more and more project with SMT only parts so I knew I really wanted to stock only SMT parts for now. A quick search on eBay netted me a few "kits" for resistors and capacitors in the 0805 package which is what I really wanted to standardized on for all my passives. I like the fact that I can get standard 1/8 and 1/10 watt values in addition to 1/4 when I need it in this package and the cost is minimally more than the 0603 package in most cases. I also picked up a few storage boxes for all those tiny parts, highly recommend them! Finally I made a few orders to Mouser and DigiKey to start stocking up.

I ordered 4,000 .1uF ceramic caps from Mouser (actually got 0603 package for these as they were the right price and 0603 isn't much harder to work with than 0805), got the reel for $12. Should never need decoupling caps again! I ordered 50 ATMega328's and 50 ATTiny2313's from DigiKey and 500 each of the standard 0805 resistors in 1/8W 0805 package.

The kits I got from eBay helped fill out the voids in the values for my cermamic capcitors and resistors. I think I paid a total of $50 for both kits and shipping, way worth the price.


Filed under: Electronics No Comments